In This Article
If you are looking for home interiors, chances are that you have just got the keys to your new home and are looking to renovate or design it. If you have started looking for a reliable and trustworthy designer, you know by now how confusing the research process can be. Take it easy because Livspace has got you covered!
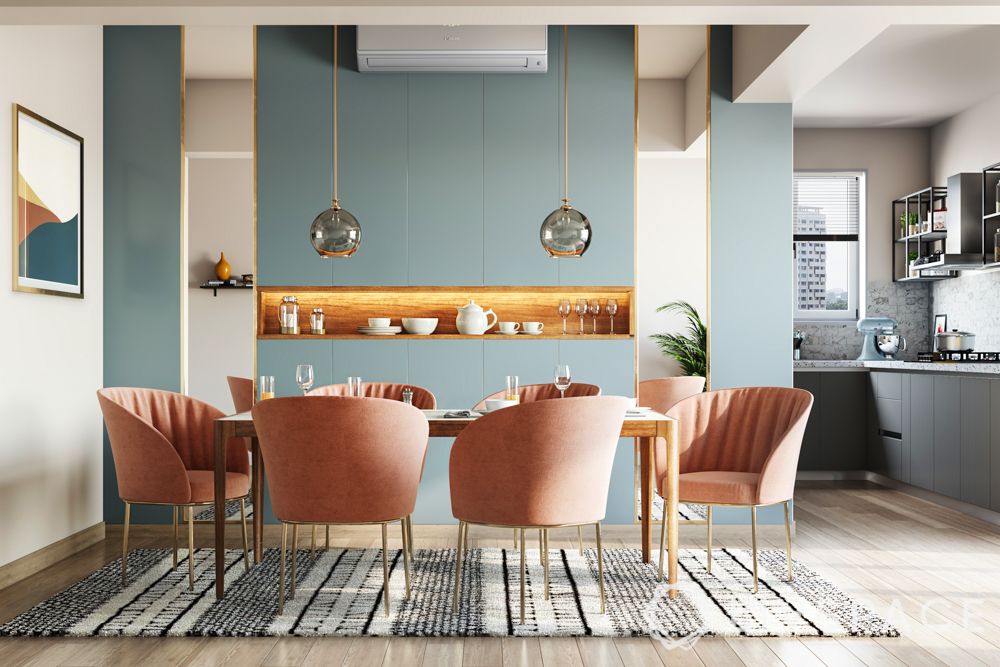
At Livspace, we bring together aesthetics and functionality all the while designing an end-to-end customised and space efficient home. We also understand how important it is to design a home within budget. Moreover, you can discover a sea of themes and styles while we personalise all of it to your needs.
Wondering how to get started? Take a look at these 9 simple steps to get your very own #LivpaceHome!
STEP 1: Book a design consultation
Start the process of getting your dream interiors by visiting our website. Fill up this simple 4-step form here. You can now expect a follow-up call on the same day from our team who will gather some more information on your timelines, budget and floor plan details.
STEP 2: Meet your designer

Following your call, gear up for an informative meeting with your Livspace designer. During this step, you will know about all the products, materials, craftsmanship and service capabilities that are at your disposal during the design process. This meeting will give your designer a detailed picture of your lifestyle, taste and needs, helping him/her to create a design that is personalised to your preference. Or if you prefer having a Zoom conversation with the designer, that’s also fine with us!
STEP 3: Get personalised designs
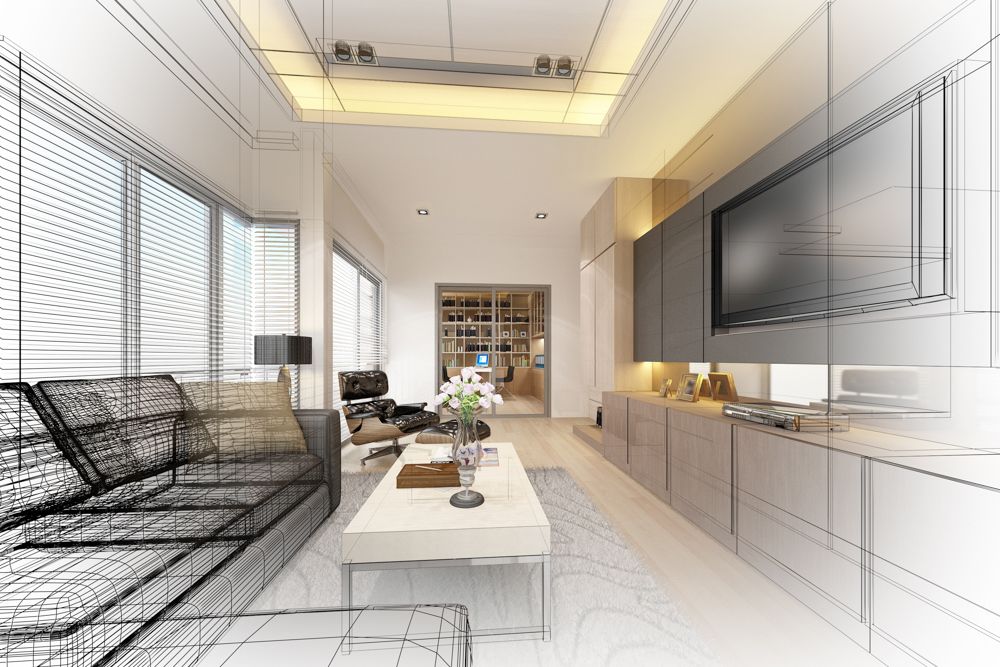
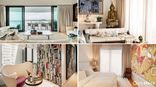
We know how important customisation is when it comes to home interiors. Getting personalised interiors run deeper than getting the perfect fit. It signifies luxury and exclusivity too. In this step, your designer will transform your requirements into a design. Your designer will share authentic 3D design proposals, mood boards, colour palettes, suggestions for materials and finishes and even decor based on your discussion! Furthermore, you will get a clear idea of the estimated cost of the project this early on in the process. This projected quote can help you plan ahead.
STEP 4: Book your design with 10% payment
Now that you have settled on a design direction and are confident to go ahead with it, you will have to pay 10% of the estimated quote. This payment is considered the booking amount and enables the Livspace designer to proceed with chalking out a detailed design.
STEP 5: Review your home design
In this phase, you will have the freedom to alter the 3D design to your liking. Your Livspace designer will perfect the plan till you are satisfied with it. Here are some of the details that will be covered during the process:
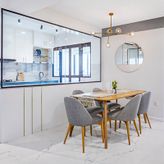
- Room layouts
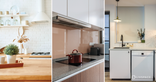
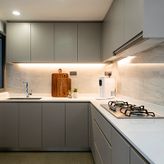
- Modular or custom kitchen plans
- Modular or custom wardrobe units
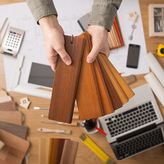
- Materials and finishes
- Lighting options
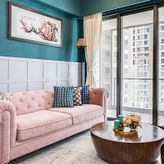
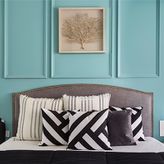
- Colour palettes and design styles
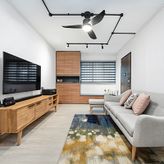
- Furniture and decor
- Services like plumbing, electricals and civil changes
Once you’re happy with the progress, a final quotation will be shared according to the new details discussed. This is the final quotation and no cost-overruns occur unless there are design alterations.
STEP 6: Place your order with 40% payment
Once you’ve got to this phase, you should be ready to implement the final designs into your home. At this stage, 40% of the payment has to be made, making it a total of 50% of the payment. Upon confirmation, the team can now begin sourcing and manufacturing of items.
Note: Designs can be changed at this stage. However, the delay might negatively impact the process if orders have been placed.
STEP 7: Pay 45% before product delivery
We are now ready with everything and await the green light to proceed with the installation. Payment of 45% enables the team to start with the on-site work. A comprehensive project plan will be shared with you to give you a clear idea of execution and logistics of the on-site process.
It’s important that you and your designer mutually agree upon these milestones before this phase begins.
STEP 8: Installation process begins
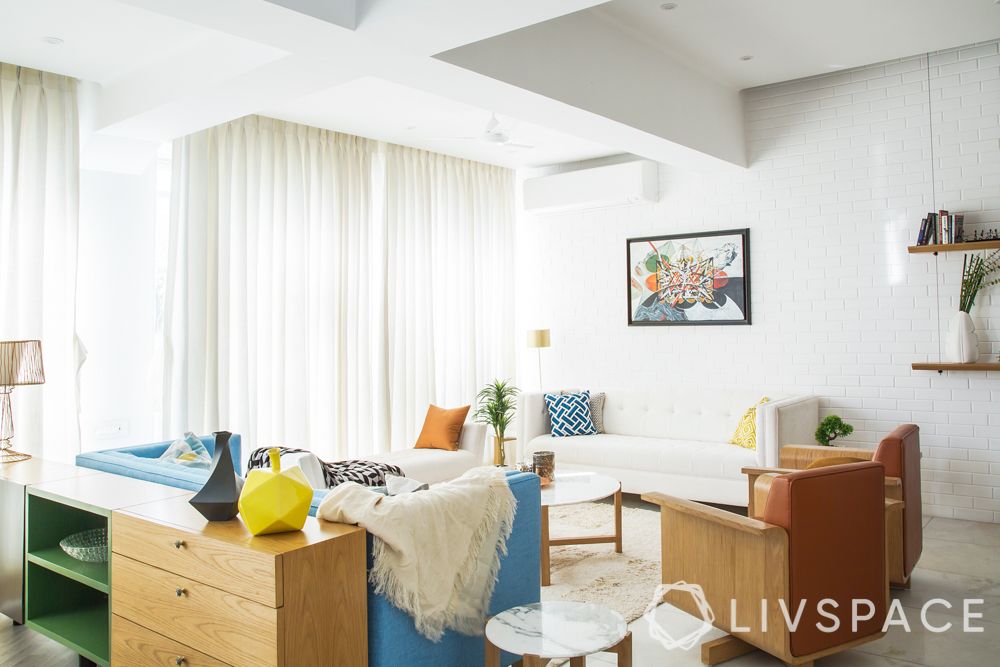
In this phase, you can see your home take form and unfold before you. On-site work includes civil work, installation of storage units, wall treatments, flooring, setting up or furniture, etc. Your home will be organised to match your final designs to the T.
STEP 9: Pay final 5%
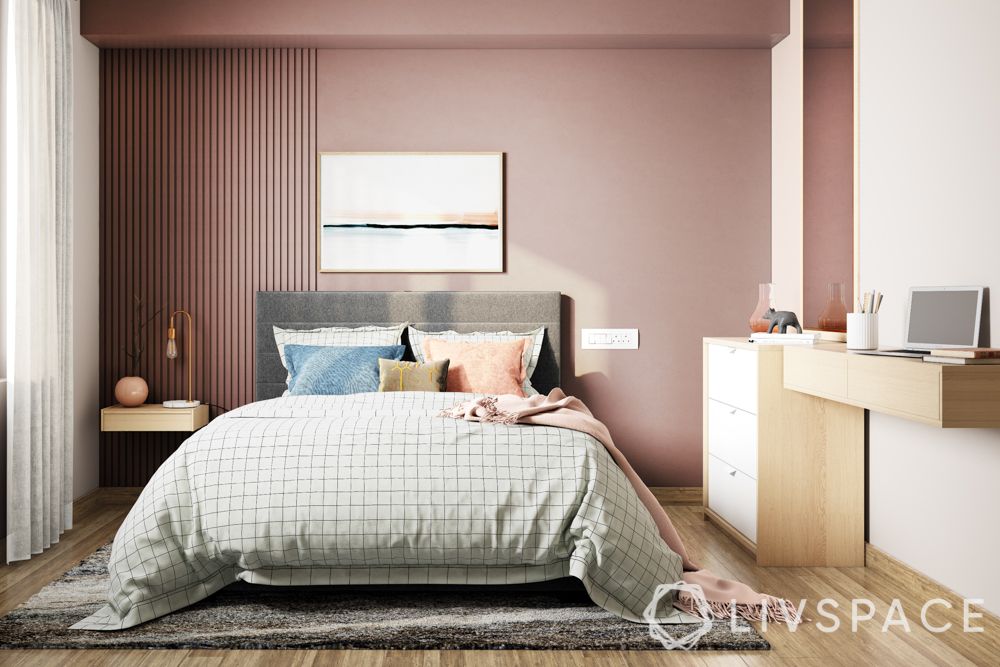
Now that you have witnessed your 3D design unfold into your home and are happy with the results, you will have to make the balance 5% payment. This step will give you the assurance that you will receive exactly what was discussed and planned in the previous stages.
You are now ready to start your journey with your very own LivspaceHome!
If you found this article helpful, here’s Everything You Need to Know About Renovating Your HDB
We would love to hear from you! Write to us at:
– editor.sg@livspace.com