
In This Article
In the face of the lockdown, we might have limited resources, but who says we can’t utilise them to the fullest? As we all try to indulge in old hobbies or cultivate new ones, why not try and fill your balcony with greenery? If you are on board with the plan to have a thriving balcony garden, but the lack of pots and planters is holding you back, we’ve got you covered! Did you know you could make DIY plant pots from nearly anything – from a takeaway container to even an old shoe?
Here’s how you can get started.
#1: Make the most of old bottles
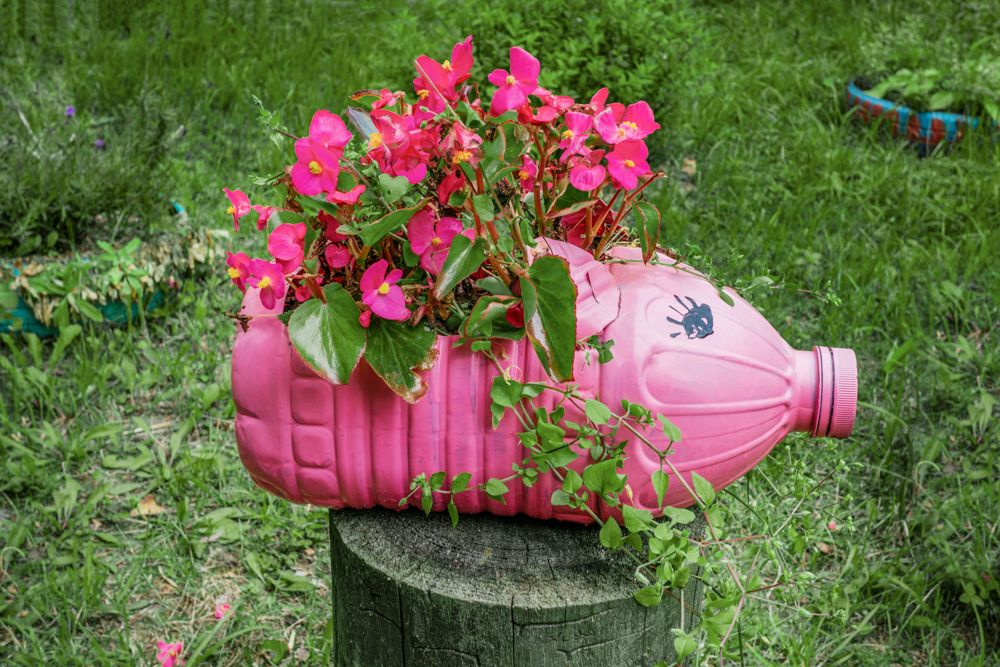
Looking for a good way to reuse old plastic or glass bottles? The simplest way to do this is by growing plants in them! All of us have bottles aplenty in our homes, so let’s turn them into planters today!
How to make this:
- Cut a plastic bottle in half, or turn it sideways and cut away a section from the top
- Paint the bottle if you want to make it look more colourful
- Punch a few holes on the bottom of the bottle
- Fill up the bottle with small pebbles and soil
- Sow seeds in it, and get your balcony garden started!
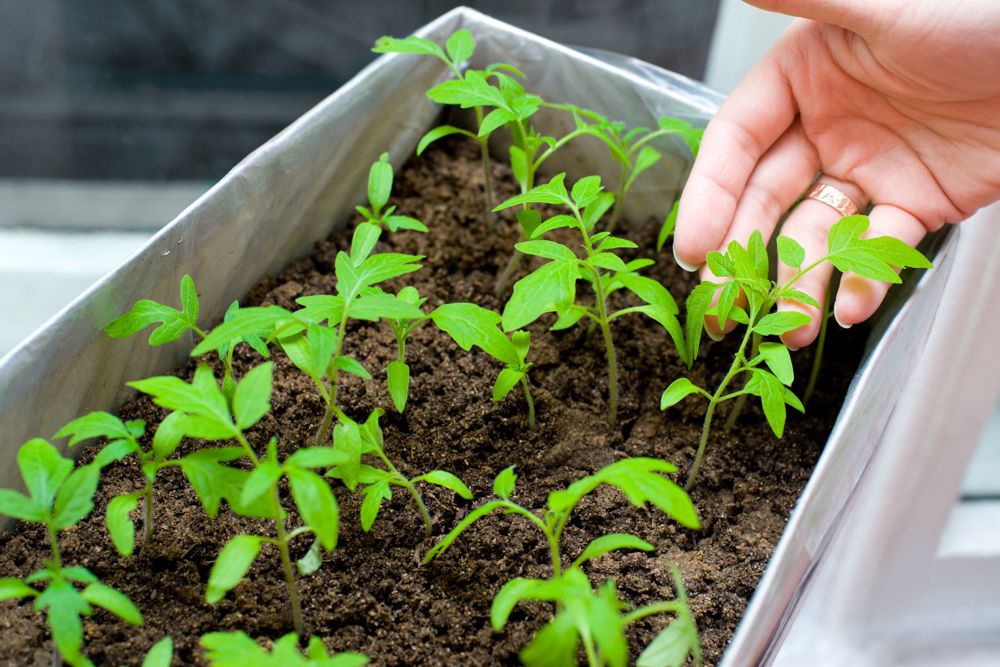
#2: Breathe new life into takeaway containers
Do you have too many takeaway containers at home? If you’re nodding along at this point, why not convert it into a planter for your balcony and hone your gardening skills? If you’re honing your cooking skills during the lockdown, you could use these containers to grow essential vegetables and seasoning to flavour your delicacies!
How to make this:
- Clean the takeaway containers thoroughly
- You could also paint them for prettier DIY plant pots
- Drill one or two holes at the bottom
- Cover the bottom of the container with fabric
- Place soil over it and use the pot to grow the plants you want!
#3: Turn an old shoe into a gorgeous planter
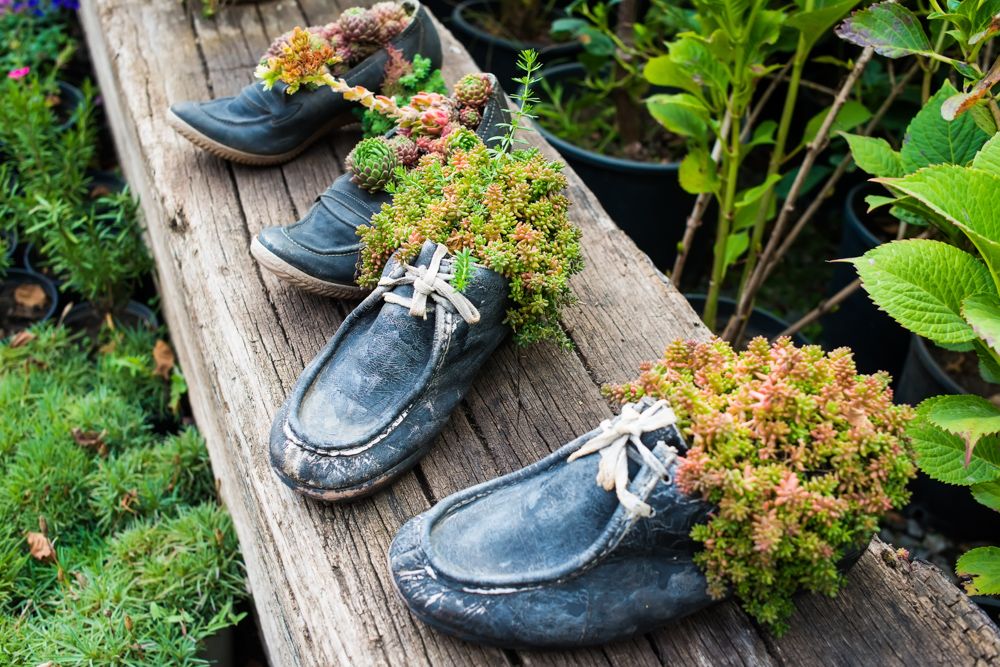
Instead of dumping that pair of shoes lying in a forgotten corner of your closet, why don’t you use it to grow plants? We think these DIY plant pots would be absolutely perfect for bonsai plants! You could also grow flowering plants in a shoe your child has outgrown!
How to make this:
- Clean your shoe and give it it a fresh coat of colour if you wish
- Make holes in the sole to drain away excess water
- Fill the shoe with a mix of soil and fertiliser
- Choose slow-growing plants that do not grow too tall!
#4: Cardboard boxes work too!
You will always have that one cardboard box in some corner of your home. And this is as good a time as any to dust it off and put it to better use!
How to make this:
- Poke holes in the bottom of the box to allow drainage of water
- Fill the box with lightweight potting soil and place it in your balcony
- Sow the seeds or plant your saplings, and water the soil evenly
- You might need to water a cardboard planter more often than plastic or ceramic ones, as the porous material absorbs water as well. However, it also dries out in sunlight, so you have nothing to worry about!
#5: You could even use the spare tyre from your car
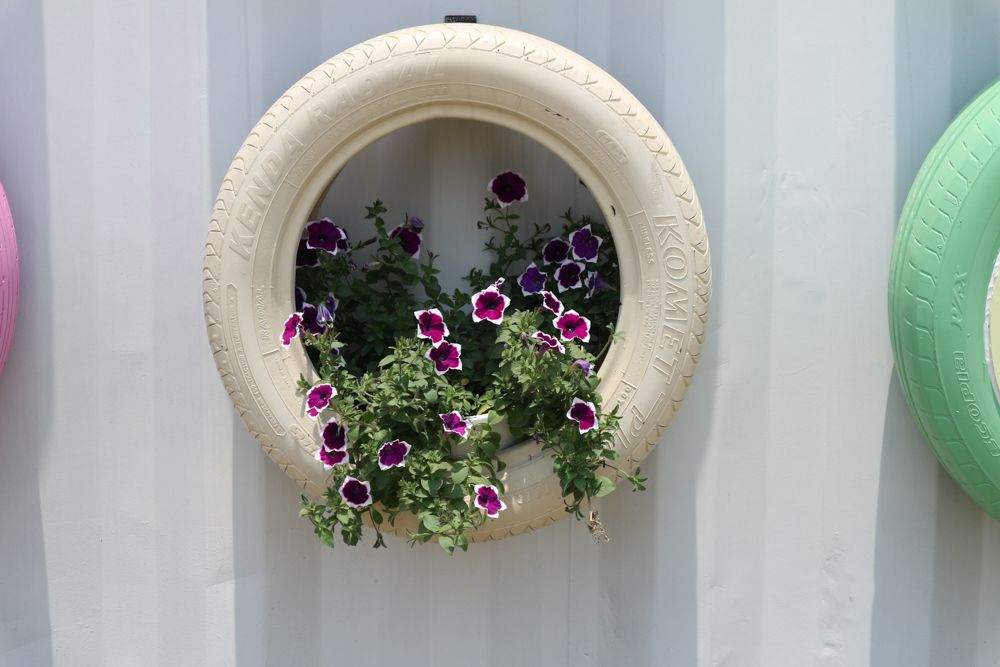
Do you have an old tyre at home or in the garage that you were planning to get rid of, long ago?If you never got round to doing it, why not turn it into DIY plant pots? One option is to simply give your tyre a firm wooden base and drill holes into it for drainage before growing your choice of decorative or flowering plants, or even vegetables in it. But if you are up to take it up a notch, consider making vertical planters instead!
How to make this:
- Clean and dry the tire. You can also paint it at this point. We suggest light and bright summery colours!
- Drill ½ inch wide drainage holes at the bottom. Cover the holes so that soil does not fall out, while ensuring that excess water can drain off
- Fill the base of the tyre with soil and fertiliser. Since it might be difficult to water a vertical tyre planter, we suggest that you choose your soil carefully to retain water
- Choose your plants carefully. We recommend flowering plants that enhance the beauty of your planters
- Hang up your planter at a suitable place. Ensure that you can water it easily!
#6: Got a gunny bag lying around?
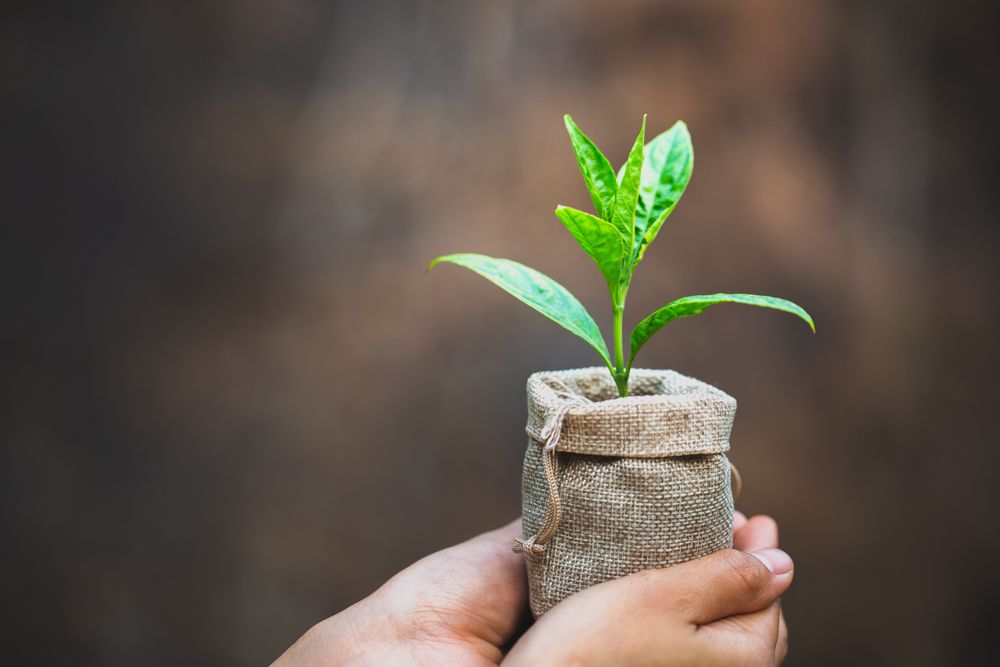
If you have stocked up on essentials before the lockdown, you are likely to have gunny bags lying around the house. And this works perfectly if you want to grow plants without the use of plastic pots. What’s more, you can choose how big or small you want to make them. As an added bonus, when you throw them away, you won’t have to worry about polluting our ecosystem further.We think gunny bag planters should be absolutely perfect for growing veggies and fruits in your balcony garden.
How to make this:
- Cut the gunny bag to the required size for your plant. We recommend a 5” bag for small plants, while you can use bags upto 11’’ in height for larger ones. You can also make smaller bags for saplings
- Stitch the bottom of the bag
- Roll the top of the gunny bag for better grip on your DIY plant pots
- Fill the gunny bag-planter with soil and sow your choice of plants in it!
#7: Monitor your seedlings carefully in egg cartons

If eggs are an essential part of your daily diet, you are bound to have these cardboard egg cartons at home. Instead of letting them take up space, why not convert them into DIY plant pots? Also, while egg cartons work wonders in growing seedlings, you will eventually have to transfer them to larger pots. However, these are the perfect size for growing microgreens. So if you have been thinking about starting your balcony garden, we recommend that you begin right here!
How to make this:
- Carve holes at the bottom of each crate
- Fill the pods with soil and plant your choice of seeds
- Water your planter regularly. Once your seedlings germinate, we suggest that you thin them so that there are no more than 2-3 seedlings in each pod
- Once the seedlings are big enough, you can transfer them to a larger DIY plant pots
Want to know how awesome these DIY planters can look? Peek into what LazyGardener found!
Now that you know how to make planters from everyday objects at home, would you also like to make the most of other articles at home? Check out Useful DIY Crafts With Things You Would Have Thrown Away.
Send in your comments and suggestions.


